Clear steps, honest communication, and an easy experience from start to finish.
What to Expect When You Work With Us
We’ve designed our process to be simple and stress-free. You’ll always know what’s happening, what it costs, and what comes next—no surprises.
1
Reach Out & Share Details
Contact us by phone or through our online form. You can share helpful details like square footage, color preferences, and any cracks or pits in your concrete during your call or appointment. This allows us to prepare the right solution from the start.
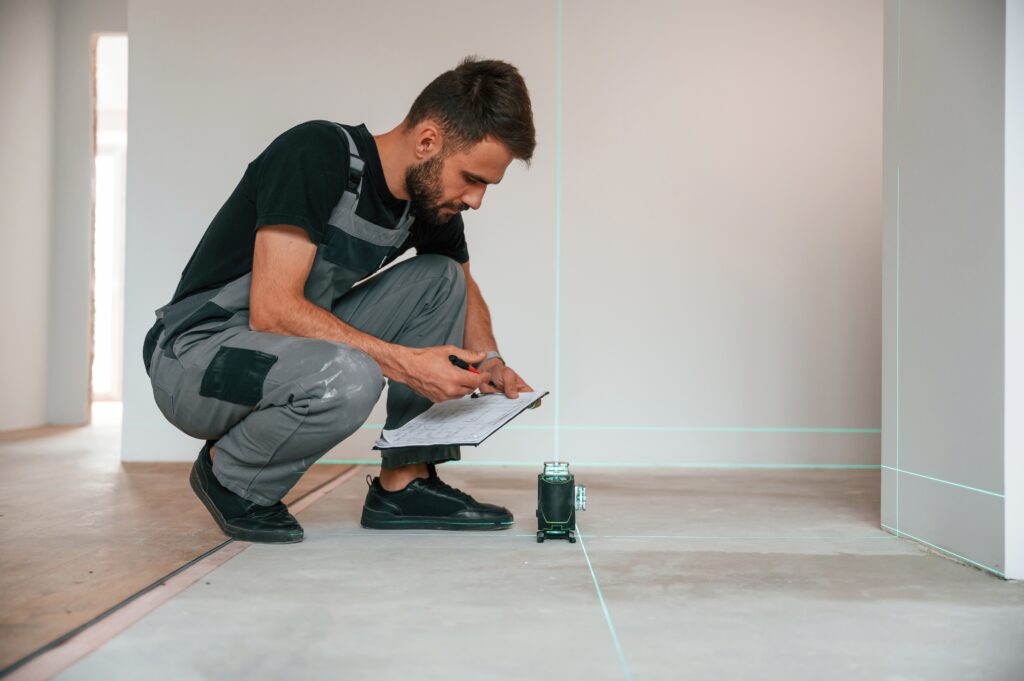
2
On-Site Review & Quote
We schedule a visit to inspect your concrete, confirm measurements, review color options, and answer questions. You’ll receive a clear, honest quote with no pressure and no surprises.
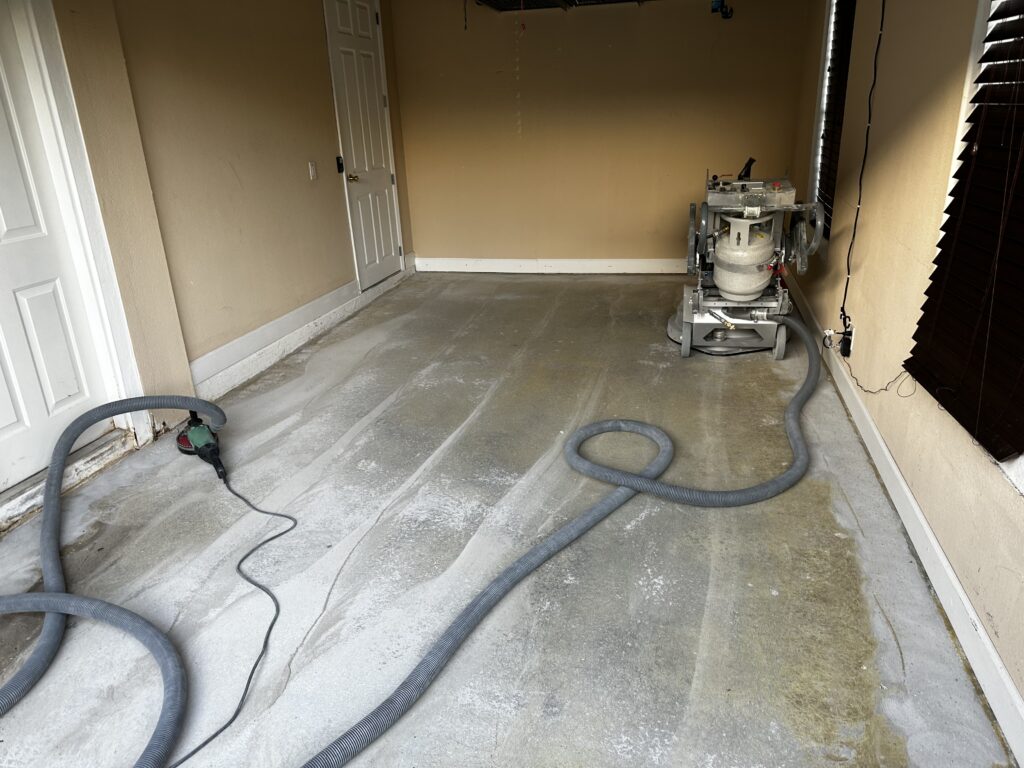
3
Concrete Preparation
On the day of your install, we’ll arrive on time and begin preparing your concrete properly. This includes grinding the surface to ensure strong adhesion, then filling any pits and cracks using an award-winning concrete mending product that cures stronger than the concrete itself. This step creates a smooth, durable foundation for your coating.
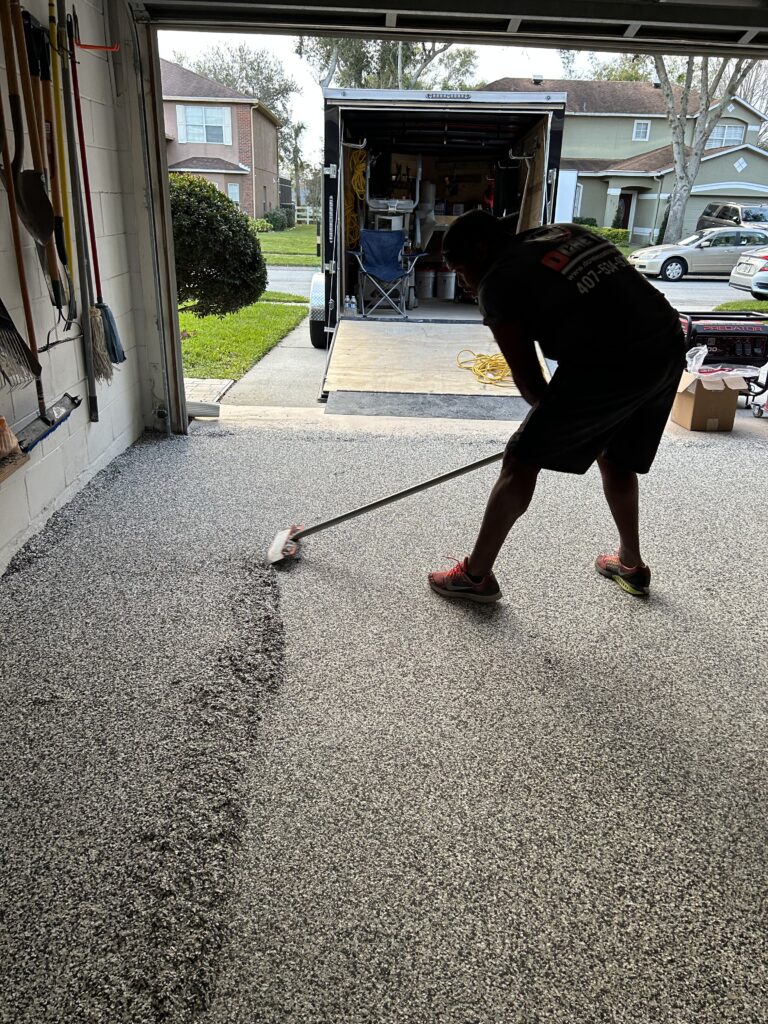
4
Basecoat Application & Color Distribution
Once the surface is prepared, we apply the polyurea basecoat and evenly distribute your selected color blend. This layer provides strength, flexibility, and the clean look that transforms your space.
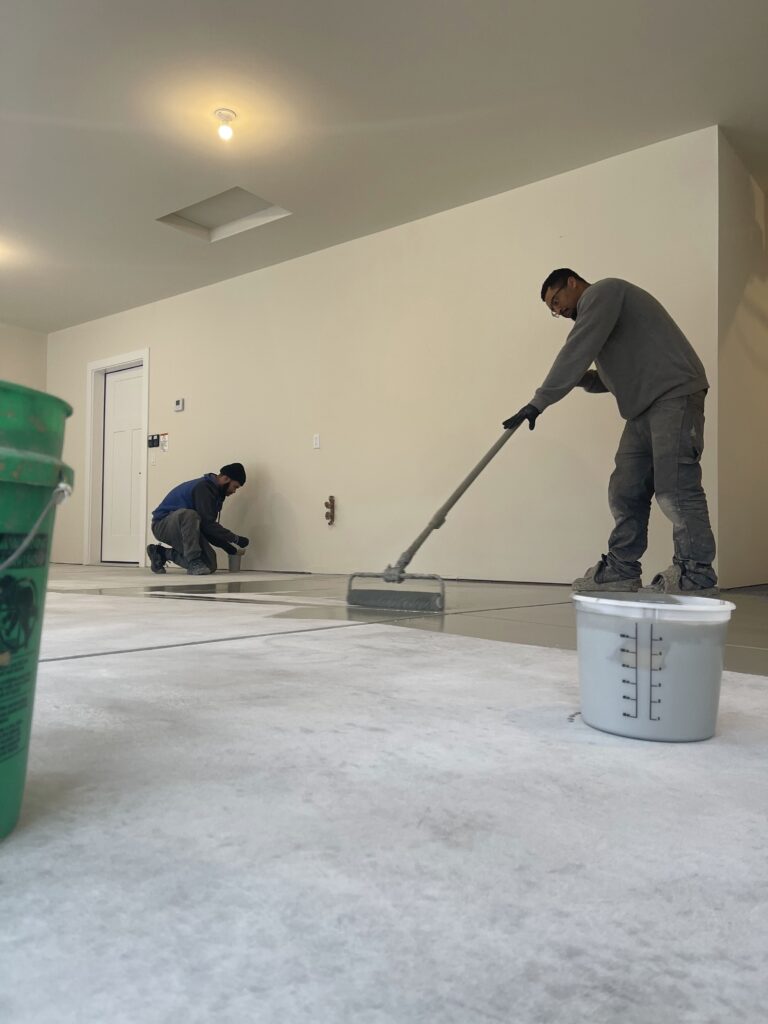
5
Topcoat Application & Final Walkthrough
We finish by applying a durable topcoat that protects against wear, moisture, and UV exposure. After installation, we complete a final walkthrough with you to ensure everything meets our standards and yours.